What We’re Making
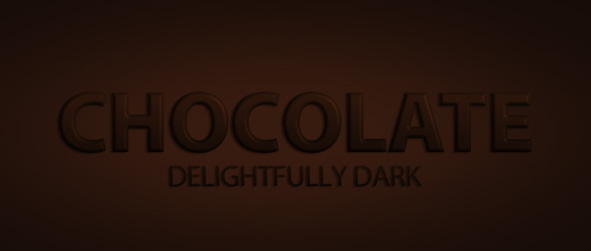
In this Text Effect Quickie, we’ll show you how to create delectable, dark chocolate text as shown in the preview below. Though the effect does take a bit of planning, you can download the Free Chocolate Effect Layer Style.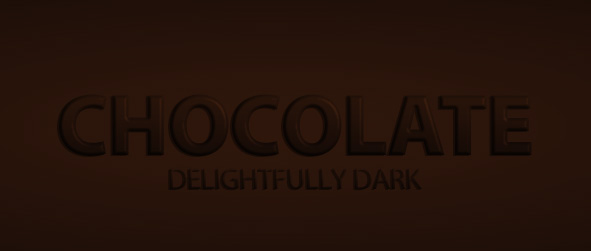
For this text effect to work best, a bold font should probably be used. I specifically chose to use Myriad.
Step 1 – Setup the Background
This text effect does require some preparation in order to give off the chocolate look. The background must have the appearance of a slab of chocolate, or else the effect will be lost.Set up a document, and use the Paint Bucket Tool to fill the background with a dark brown such as #140b07.
Create a new layer. With a large, soft brush, and a foreground color of #371b0f (or a lighter brown) paint a dab in the center of your document. Use transform (Ctrl + T) to stretch it the width of your canvas (or further to give a nice, soft highlight).

Step 2 – Setting the Type
Using the Type Tools, set some type in your document. I chose the obvious word, “Chocolate” in All Caps. The text can be any color.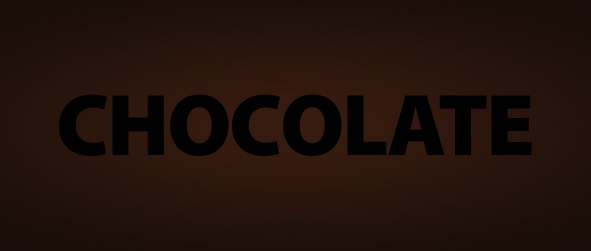
Step 3 – Making The Chocolate Text Effect
Go into your text layers Blending Options (Right Click Layer > Blending Options).Apply the layer effects shown below, making any modifications as needed.
Drop Shadow
The angle for this shadow may need to be adjusted if the lighting for your specific needs is different.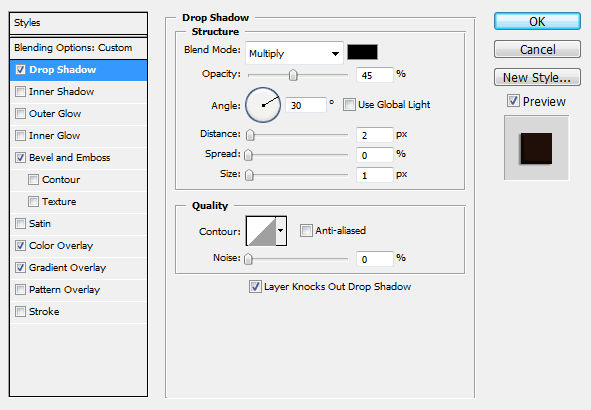
Bevel
This effect makes our text pop out of the chocolate background. The Angle may need to be changed again to compensate for your lighting scheme.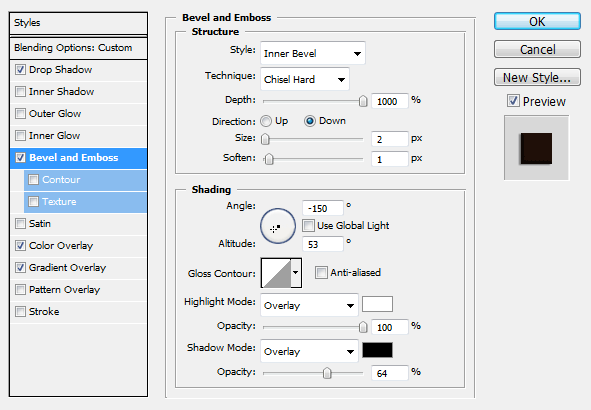
Color Overlay
Not necessarily needed, but a Black color overlay will make it easy to adjust the brightness of your text later on if ever needed.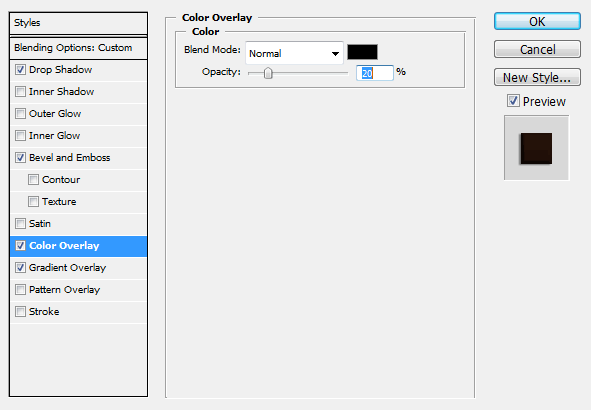
Gradient Overlay
This is where we set the color of our type. You’ll need to create a new gradient fading from #1e0f08 to #371b0e. Once again, angle may need to be adjusted.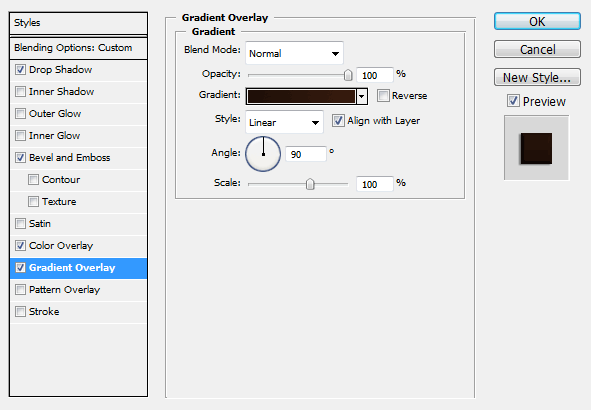
Not Limited To Text
This effect is of course not limited to text. Try working with custom shapes to create your own chocolate shapes! Keep experimenting! Artikel Terkait di Bawah posting


0 komentar:
Posting Komentar